How to Design Your Holiday Cards Through Your Gallery
The most wonderful time of the year is fast approaching, and with it comes the joy of sending heartfelt Holiday cards to your loved ones. If you’ve recently had a mini session or a regular session with me, you’re in for a treat this year! In this blog post, we’ll walk you through the simple steps to design and purchase Christmas cards from our photo gallery.
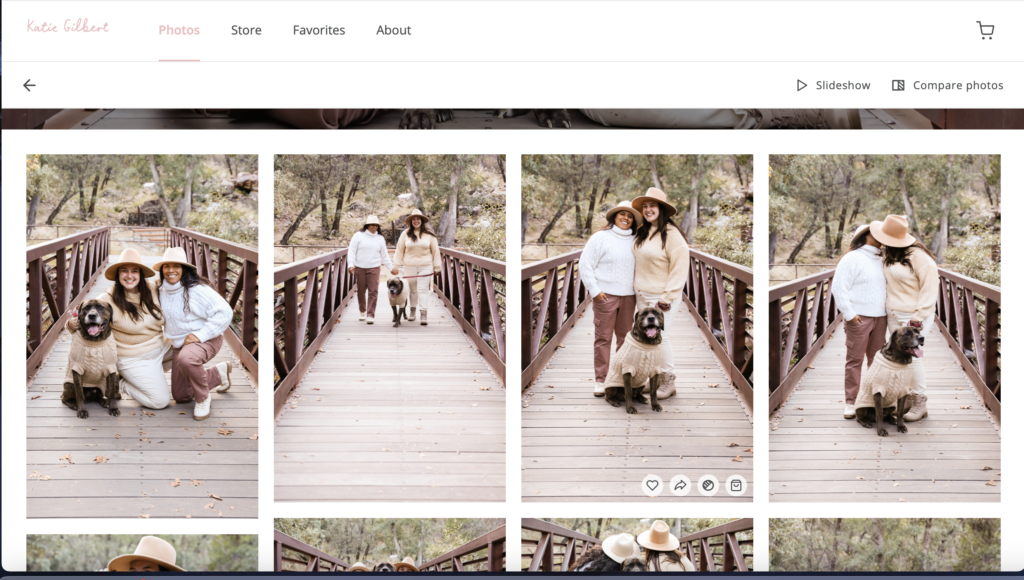
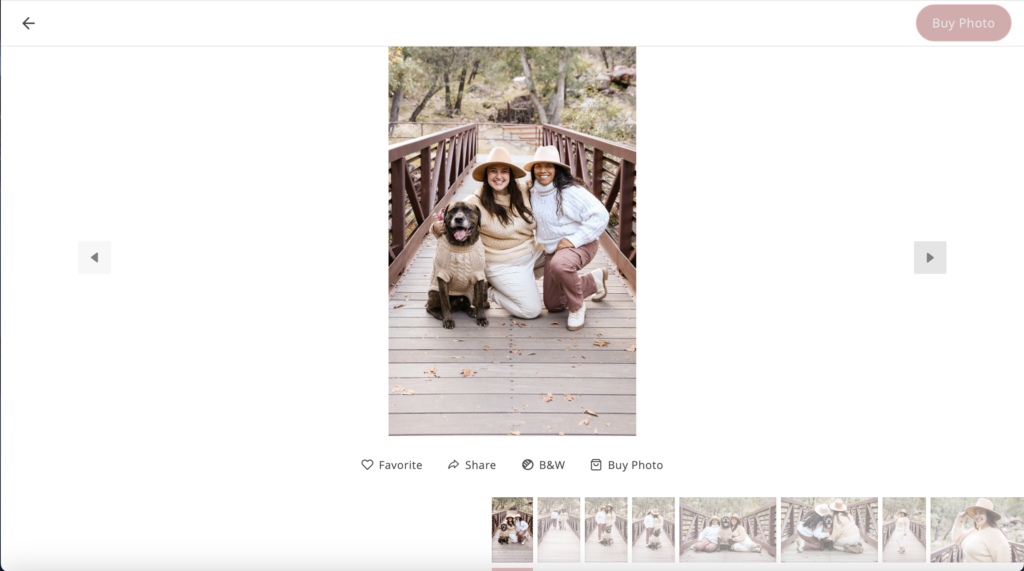
Step 1: Select Your Favorite Photo
Once you’ve had a chance to browse through your photo gallery and pick out your favorite shots, it’s time to get started. Click on any photo that you’d like to use for your Christmas card. In the corner of the photo, you’ll notice a “buy photo” option. Click on it to begin the card customization process.
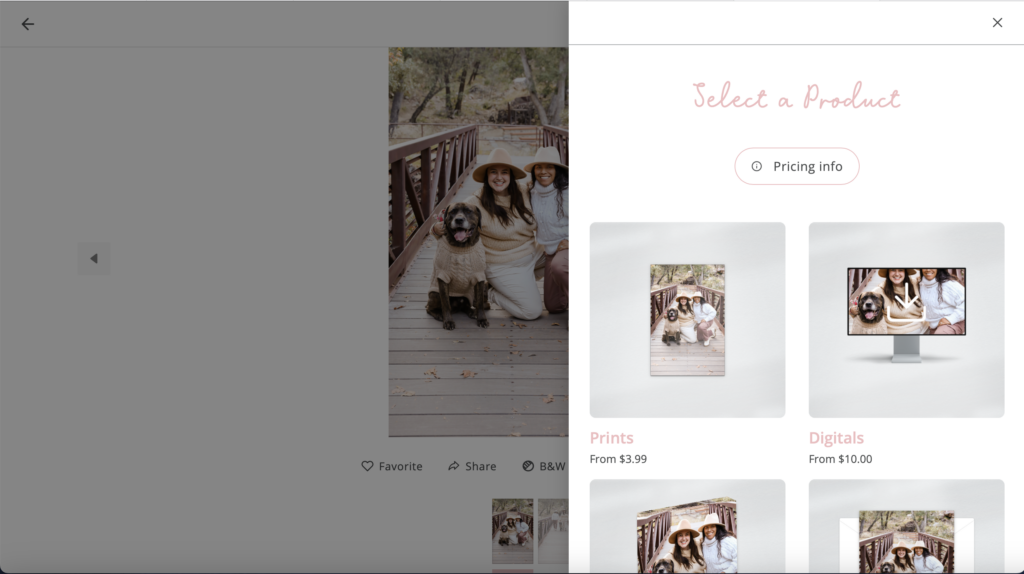
Step 2: Choose Your Card Type
After clicking “buy photo,” you’ll be presented with four different options. Select “cards” to explore different card offerings.
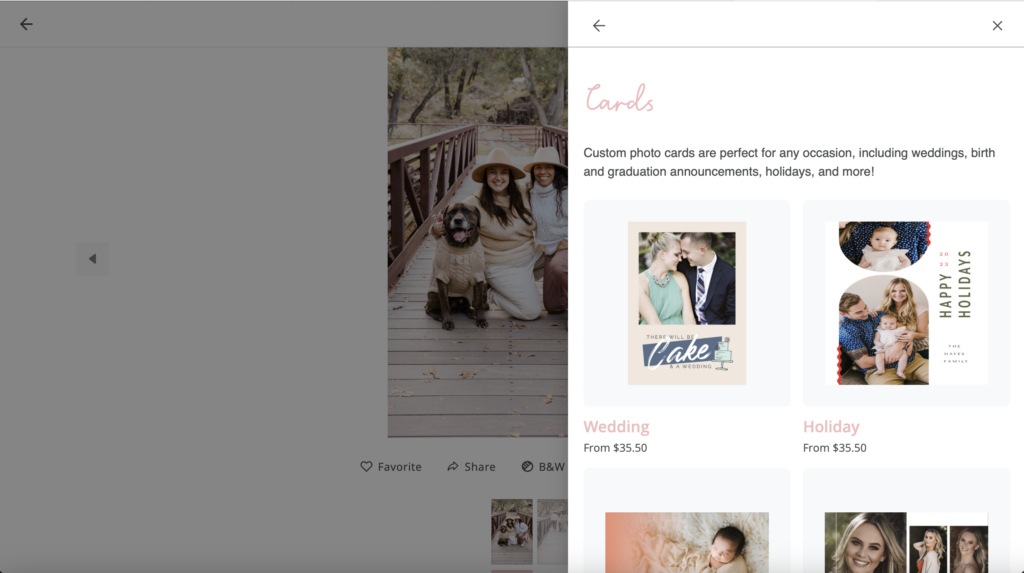
Step 3: Explore Holiday Card Designs
You’ll now see a variety of card types, but since we’re focusing on Christmas cards, select “holiday cards” to narrow down your choices.
Step 4: Start Designing Your Card
Once you’ve selected “holiday cards,” scroll through the many beautiful options until you find a design that resonates with you. Once you’ve found the perfect one, click on “Start Designing” to customize your card.
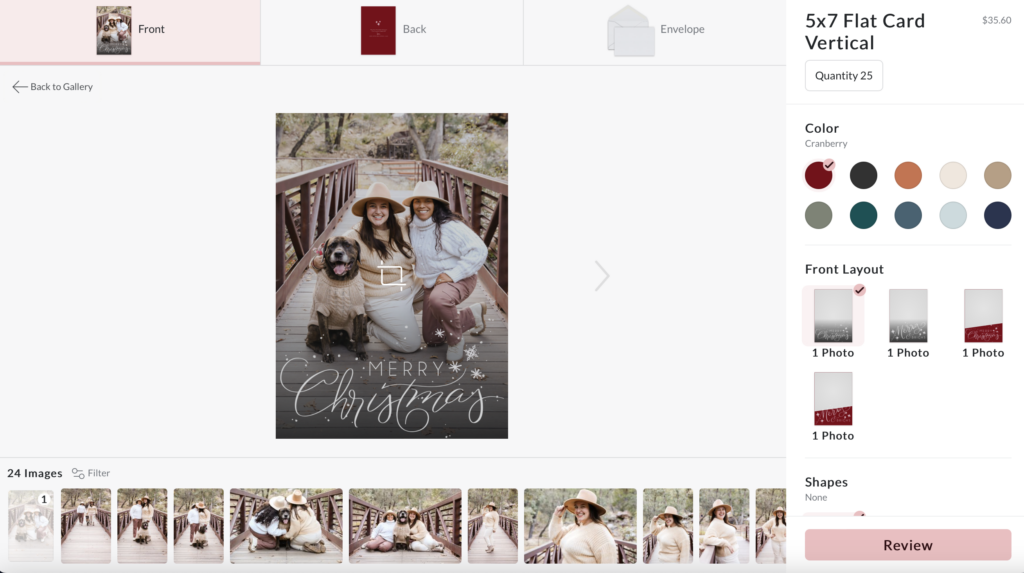
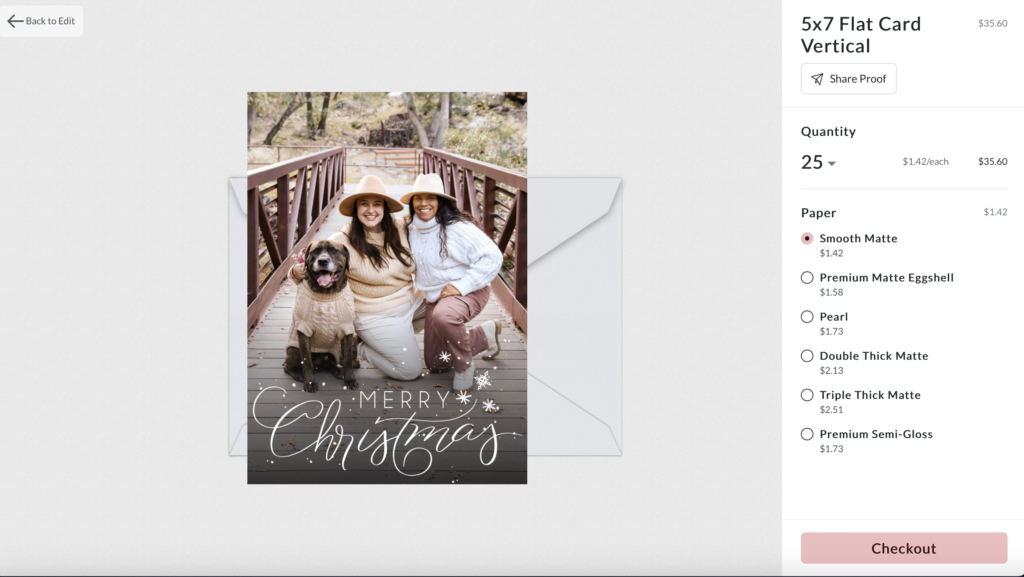
Step 5: Personalize Your Front Image
You’ll then reach a design interface where you can drag and drop the photo you want into the blank space. Many of these card designs offer additional customization options. For example, you can change the color, card shape, and the number of images on the front to make your card unique.
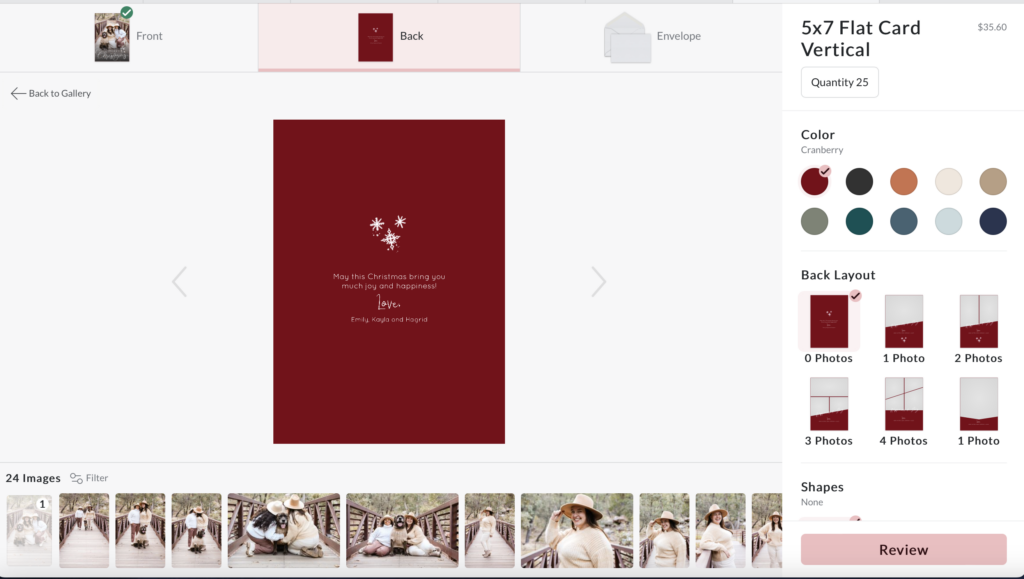
Step 6: Create Your Card Back
Once you’re satisfied with your front image, click “Back” to design the other side of your card. Insert your chosen image(s) and then update any text. Make sure to double-check that you’ve spelled everyone’s names correctly. That way, everything will be perfect.
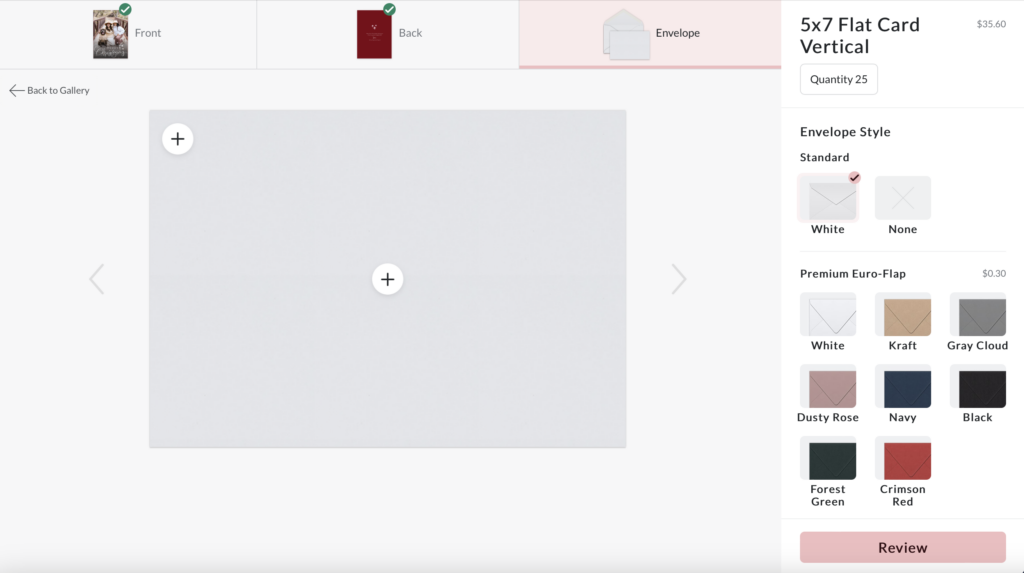
Step 7: Customize Your Envelopes
Now, select “envelopes” to customize your card envelopes. You can choose to have envelopes in a different color or have your address printed on them (please note that printed addresses may incur an additional cost).
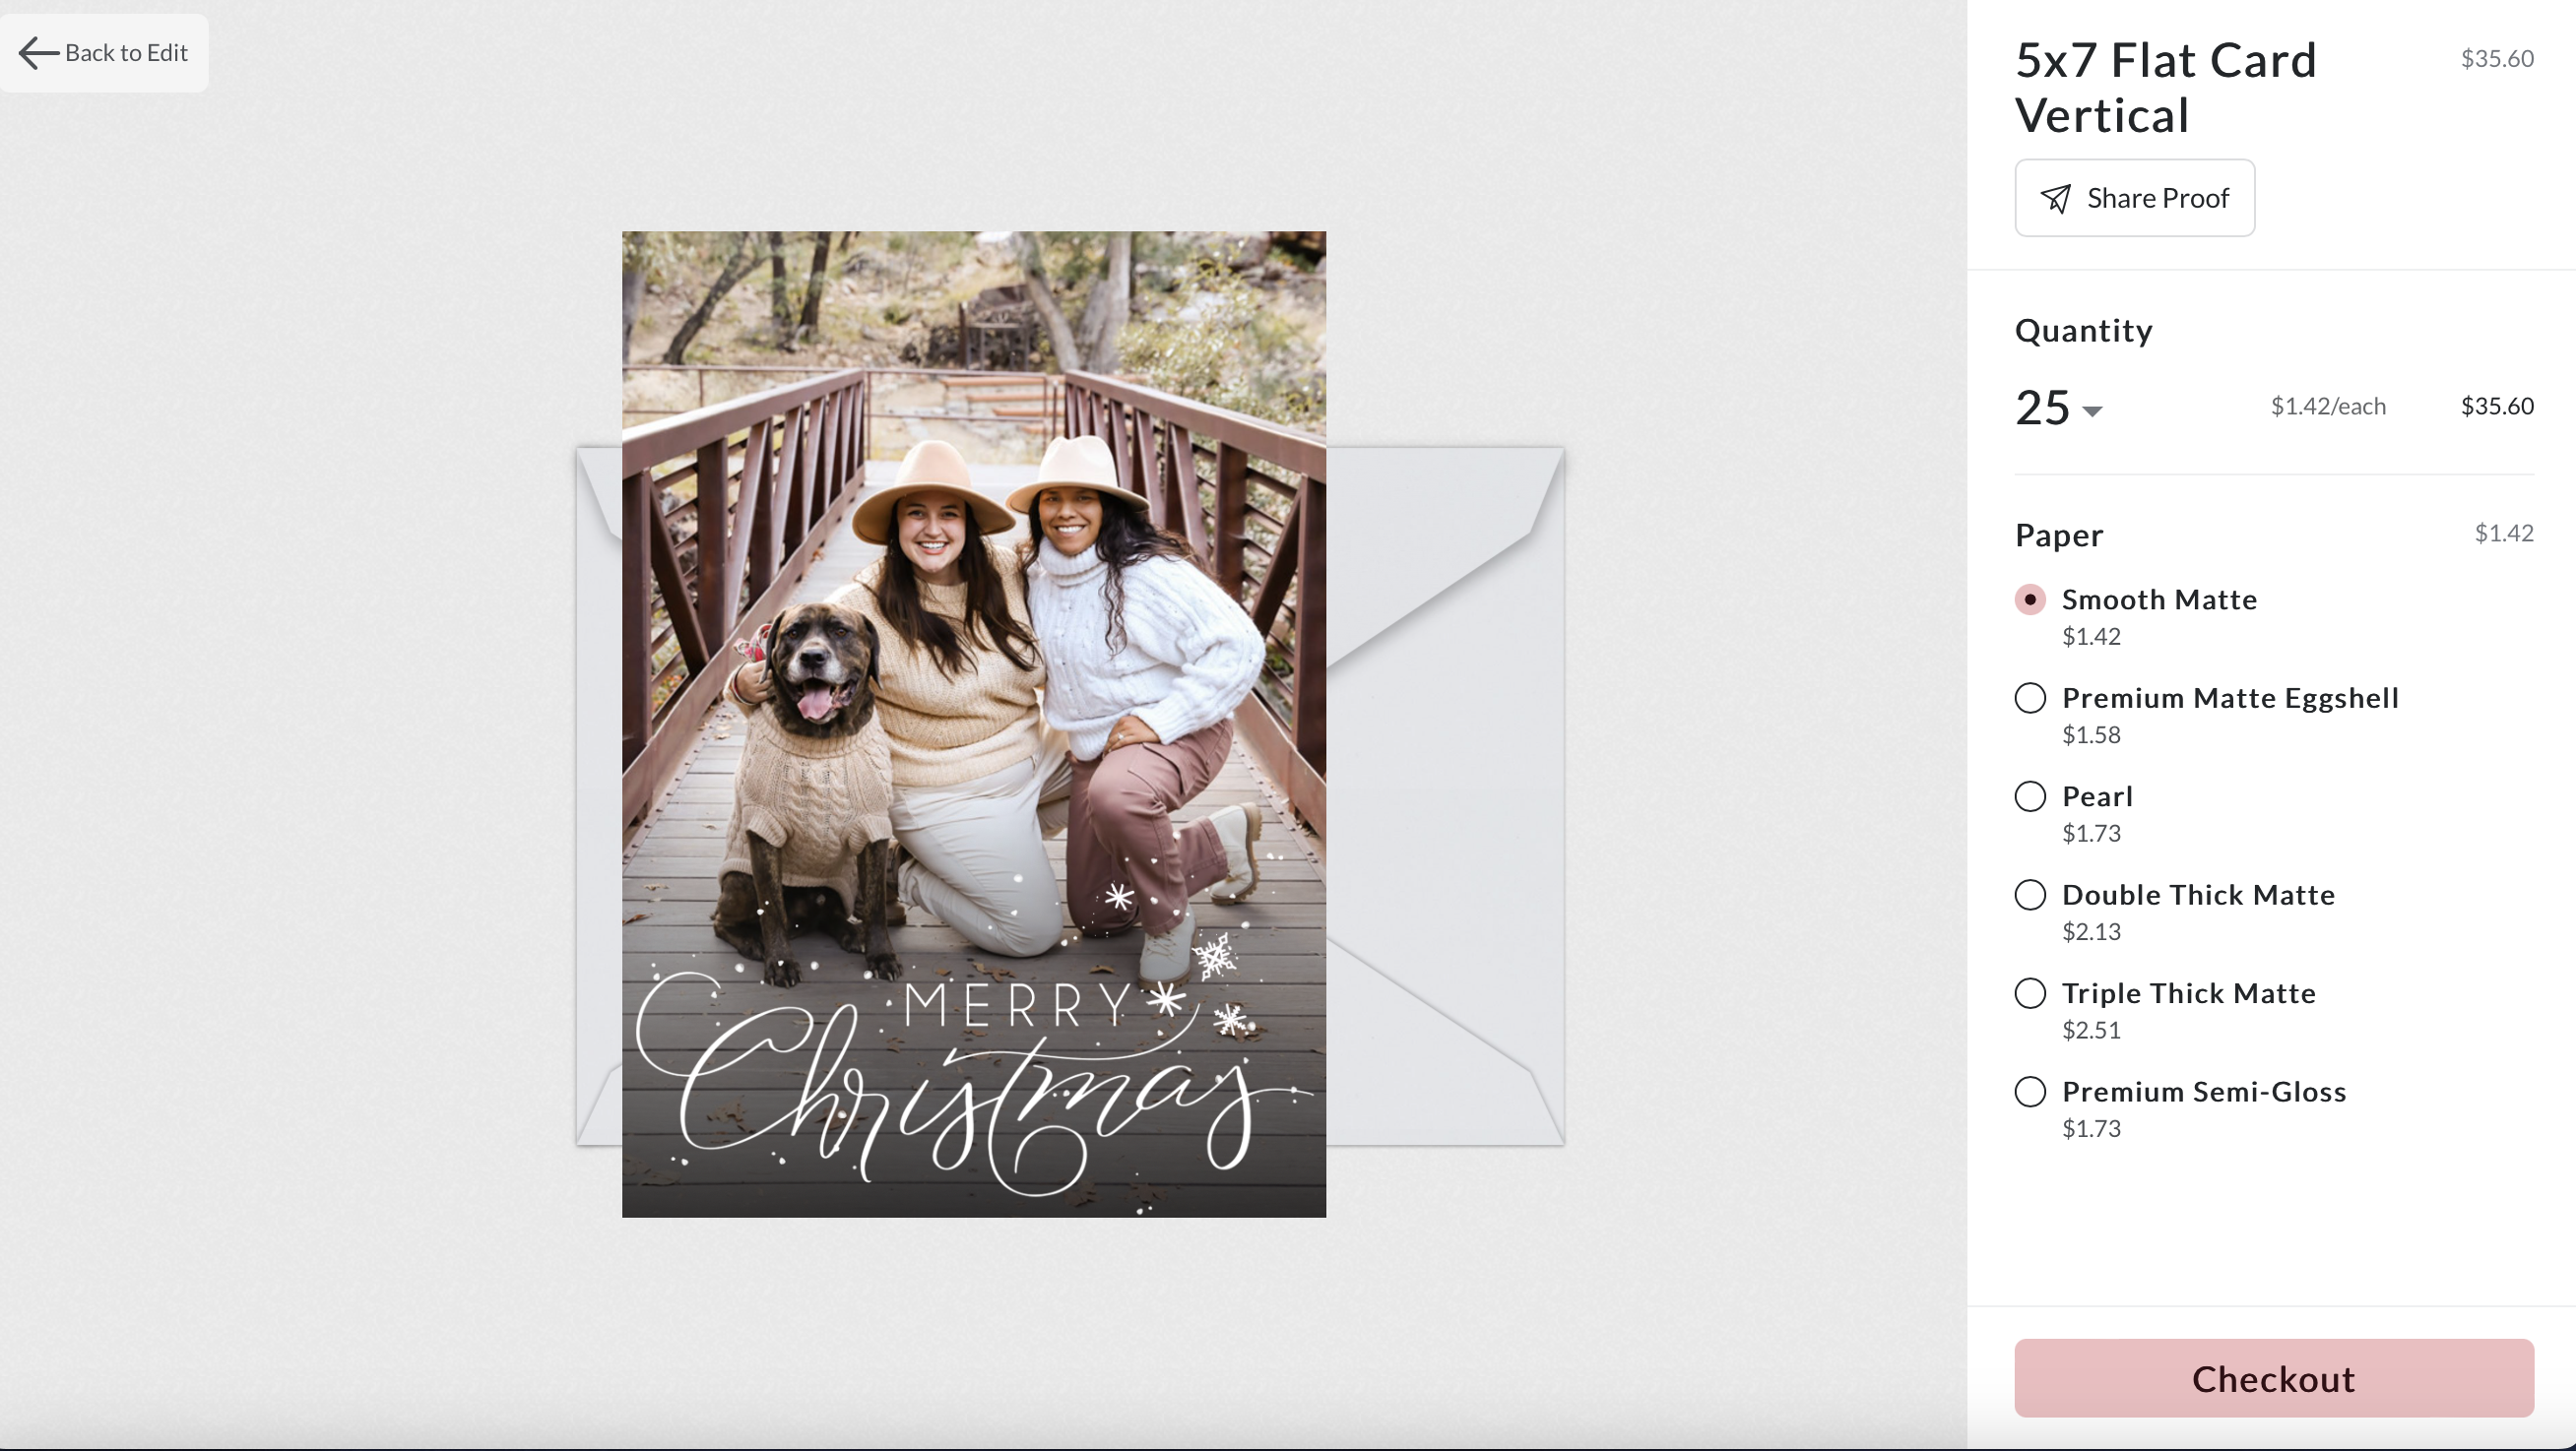
Step 8: Review and Finalize Your Order
Before placing your order, click “Review” to check for any spelling errors and ensure everything looks just the way you want it. This is also where you can select the number of cards you’d like to purchase. These cards start at a minimum of 25, and you can increase the quantity in intervals of 5.
Step 9: Checkout
Once you’ve reviewed and finalized your order, click “Checkout” to complete your purchase. You can expect your beautifully customized Christmas cards to arrive within approximately 2 weeks.
With these simple steps, you can now create the perfect Christmas cards that reflect your unique style and capture the magic of the holiday season. Let me know if you ever have any questions!
